Your Trail Cam Is Sitting on a Gold Mine
You've been running trail cameras for years. Checking SD cards. Scrolling through hundreds of doe pics, a few decent bucks, maybe a coyote or two. You're looking for patterns, trying to figure out where that big boy is bedding.
But here's what most hunters miss: buried in those thousands of photos is art. Real, frame-worthy, stop-you-in-your-tracks kind of shots. The kind of stuff you'd hang in your living room — or should be hanging there.
Let's talk about how to spot the keepers, set up your cameras for better shots, and turn your best trail cam photos into actual canvas prints that don't look like, well, trail cam photos.
Setting Up for Art (Not Just Intel)
Most trail cams are set up for one thing: data. Where's the deer? What time? How big? That's fine for scouting, but if you want photos worth printing, you need to think a little differently.
Location Matters More Than You Think
Scrape lines and mineral sites give you activity, but they don't give you composition. If you want a shot that looks intentional — not just a deer staring at a camera in the dark — aim for:
- Natural clearings with background depth (not a wall of brush 6 feet behind the subject)
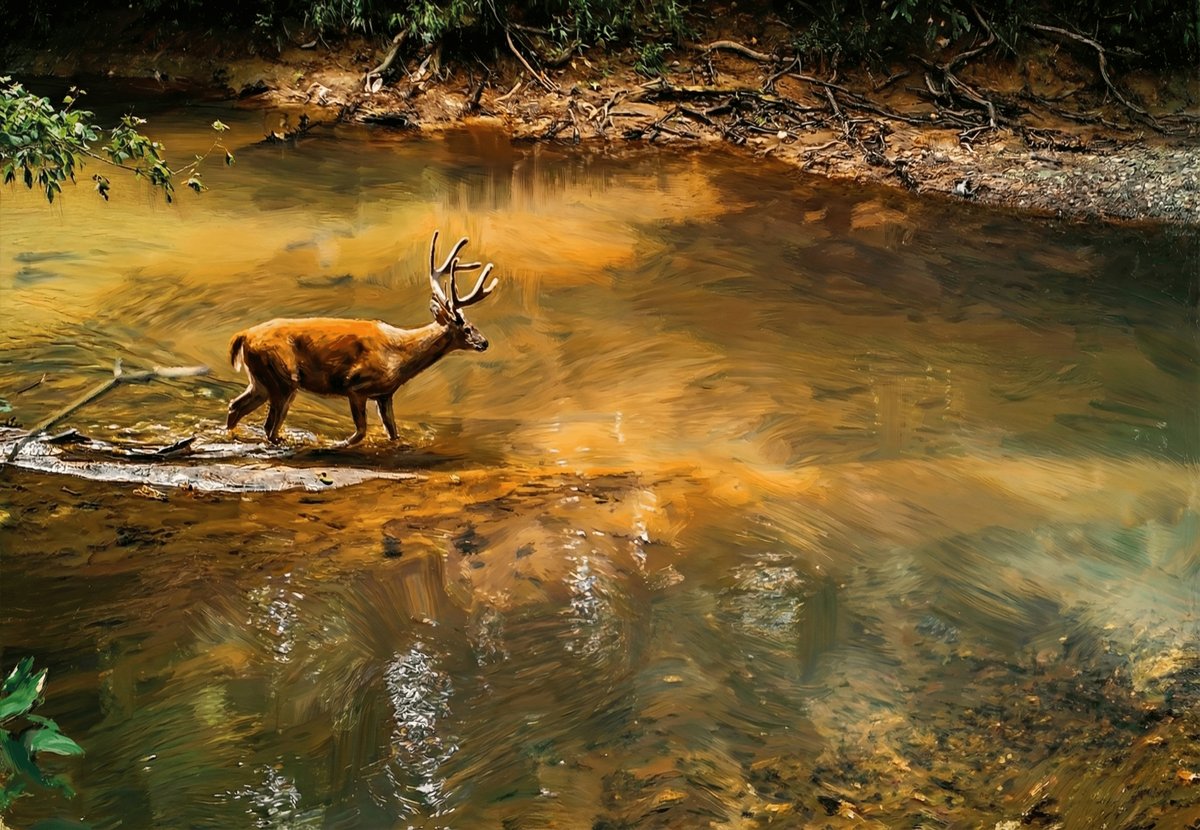
- Water crossings — creeks, pond edges, anything with a reflection
- Ridgelines and field edges where you get sky or treeline in the frame
- Trails with leading lines — a worn path that draws the eye into the shot
You're not giving up intel. You're just being a little more selective about where you place that camera.
Camera Settings: Dial It In
Most trail cams ship with default settings that prioritize battery life and SD card space. Fair enough. But if you want print-quality images, tweak these:
- Resolution: Max it out. Yes, it eats storage. Yes, it's worth it.
- Photo mode over video (for stills) — burst mode is great for action, but single high-res shots are cleaner for printing.
- Delay settings: If you're after one great shot instead of 47 photos of the same deer, increase your delay between triggers. Gives the animal time to move into better light or posture.
- Flash vs. low-glow vs. no-glow: Flash gives you color at night, but it's harsh. Low-glow is a compromise. No-glow is stealthy but black-and-white only. If you're going for art, daytime color is king.
Height and Angle
Chest height, slight downward angle. You've heard it a million times. But for photos you'd actually want on your wall, consider going lower. Closer to eye level with the animal. It's more intimate. More like you're there, not just watching from above.
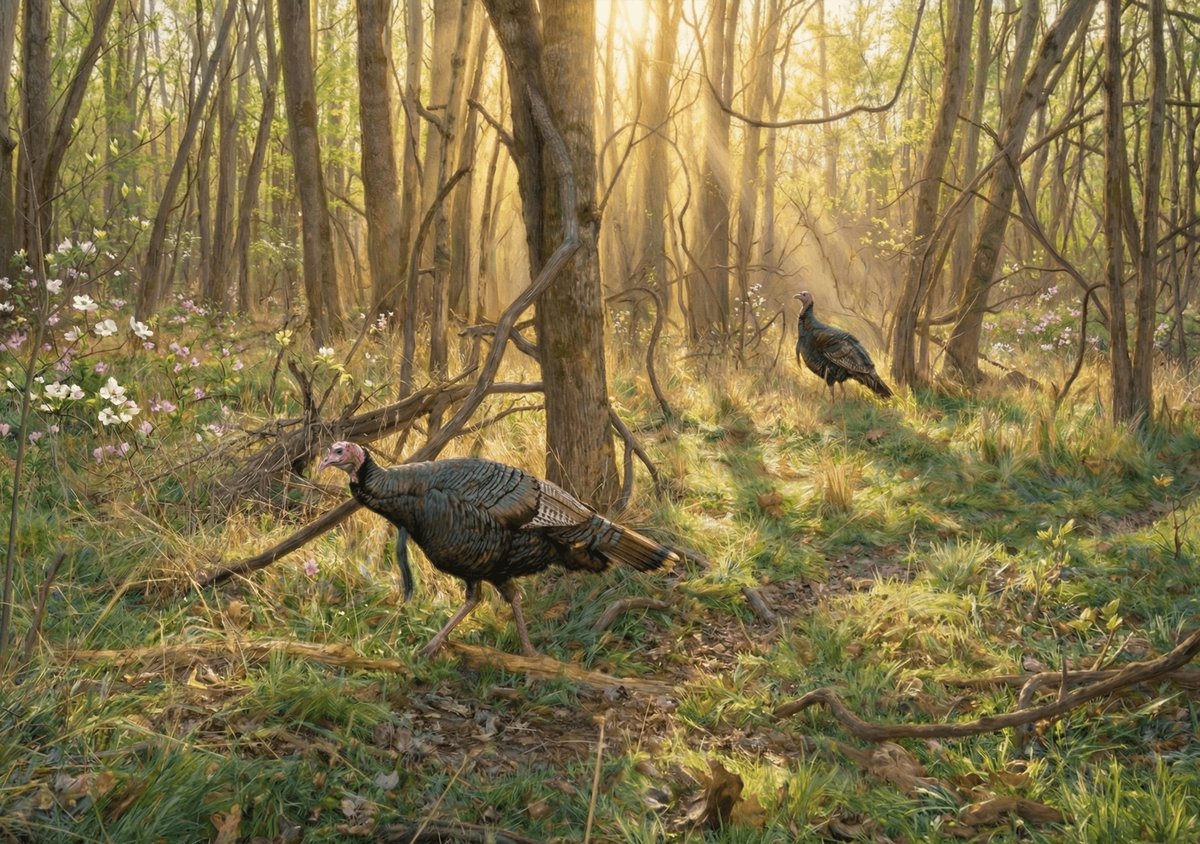
And if you're after raptors or turkey shots, get creative with placement near roosts, strut zones, or feeding areas where birds move naturally.
Sorting Through the Noise: What Makes a Print-Worthy Shot?
You're going to pull 800 photos off that card. Maybe 10 are worth a second look. Maybe 2 are worth printing. Here's what separates the keepers from the trash:
Light Is Everything
Golden hour wins. Early morning, late evening. Soft, warm light. If your best shots are all blown-out midday sun or grainy night IR, you're fighting uphill. Adjust your camera's sensitivity or location to catch better light windows.
The Subject Isn't Blurry or Awkward
We've all seen the shots: deer mid-sneeze, eyes half-closed, tongue out, butt to the camera. Funny? Sure. Wall-worthy? Not so much. You want the animal composed — alert, facing the camera (or in profile), ears up, natural posture.
Background Isn't a Mess
A clean background makes or breaks the shot. If there's a fence post growing out of the deer's head or a chaotic tangle of branches, it's not going to print well. Look for depth, separation, and simplicity.
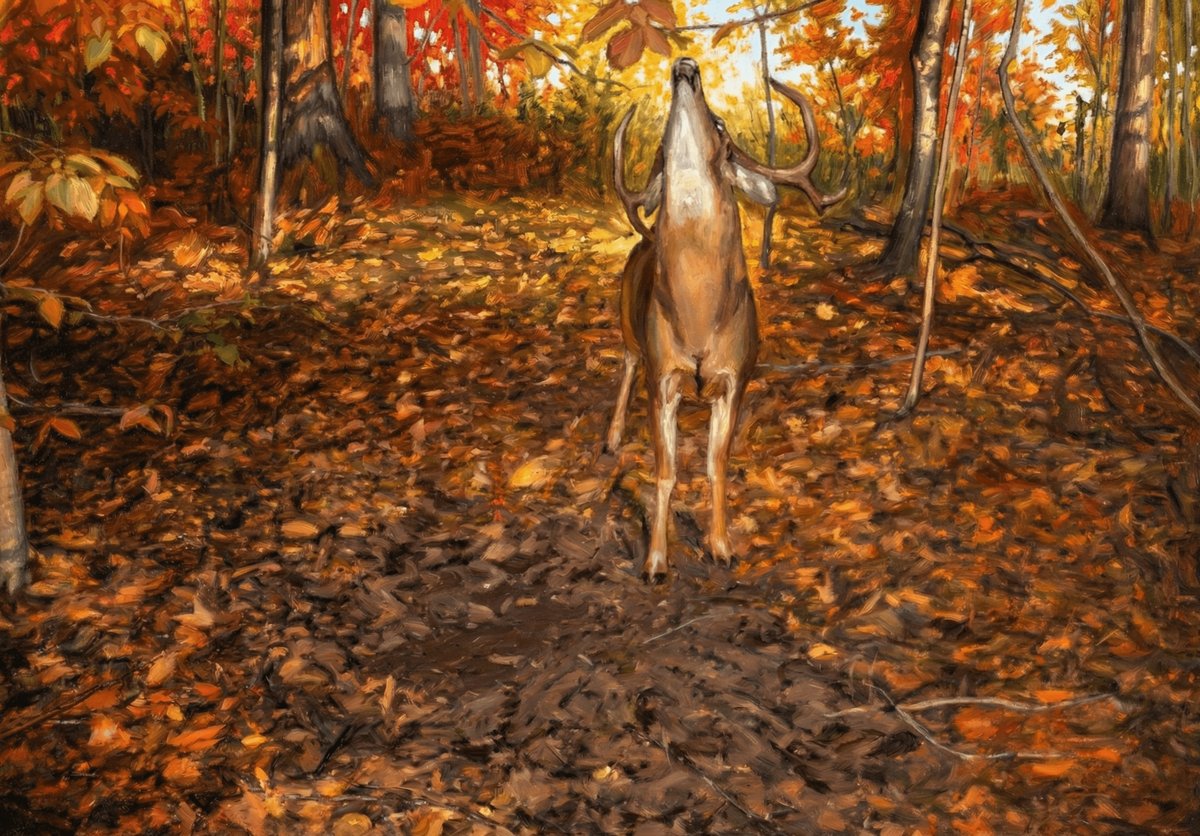
Emotion or Action
Still beats chaos most of the time, but if you catch a coyote mid-pounce or a buck thrashing a sapling, that's story. That's the kind of thing people stop and stare at.
From SD Card to Canvas: The Process
You've got the shot. Now what?
Trail cam photos are compressed. Even at max resolution, they're not always print-ready at large sizes. But with a little help from AI upscaling tools (Topaz, Gigapixel, or similar), you can turn a decent 8MP image into something that'll hold up on a 24×16" canvas.
The key: start with the best source file you can. Garbage in, garbage out. If the image is sharp, well-lit, and properly exposed, upscaling works magic. If it's already a blurry mess, no amount of software will save it.
Print It Like You Mean It
Don't settle for a cheap poster print. Canvas gives your trail cam shots weight. It turns a digital file into something tangible. Something you're proud to hang next to your mount or over the mantle.
And if you're not the DIY type, that's what we're here for. We turn field photos — trail cam included — into gallery-quality canvas prints. You bring the shot. We handle the rest.
Looking for the perfect piece? Check out November Business — one of our most popular canvas prints, gallery wrapped and ready to hang.
Your Camera, Your Art
Trail cameras are tools. But they're also witnesses. They capture moments you'd never see otherwise — the buck at 3 a.m., the fox family playing at dawn, the owl landing on a branch you didn't even know was there.
Stop treating those photos like throwaway scouting intel. Start seeing them for what they are: pieces of the wild, frozen in time, waiting to be hung on your wall.
Check your cards. Find your keepers. Let's turn them into something worth looking at every single day.
Ready to see your best shots on canvas? Browse our wildlife art collections for inspiration — or reach out if you've got a trail cam photo you want turned into a custom print. We've done it before. We'll do it again.