Stop Guessing Your Camera Settings in the Field
Here's the deal: you finally get that perfect moment—a bull elk bugling at first light, a red fox mid-pounce, a hawk launching off a branch—and your camera screws it up. Blurry. Dark. Out of focus. You know exactly what I'm talking about.
Wildlife photography isn't rocket science, but it does require knowing your camera settings cold. Because animals don't wait for you to fumble through menus. Here's the real-world guide to camera settings that actually work in the field.
Shutter Speed: Fast Enough to Freeze the Action
This is your #1 priority. Wildlife moves. Your shutter needs to be faster.
The baseline rule: 1/500th of a second minimum for most wildlife. But let's get specific:
- Stationary animals (feeding deer, perched raptors): 1/250–1/500
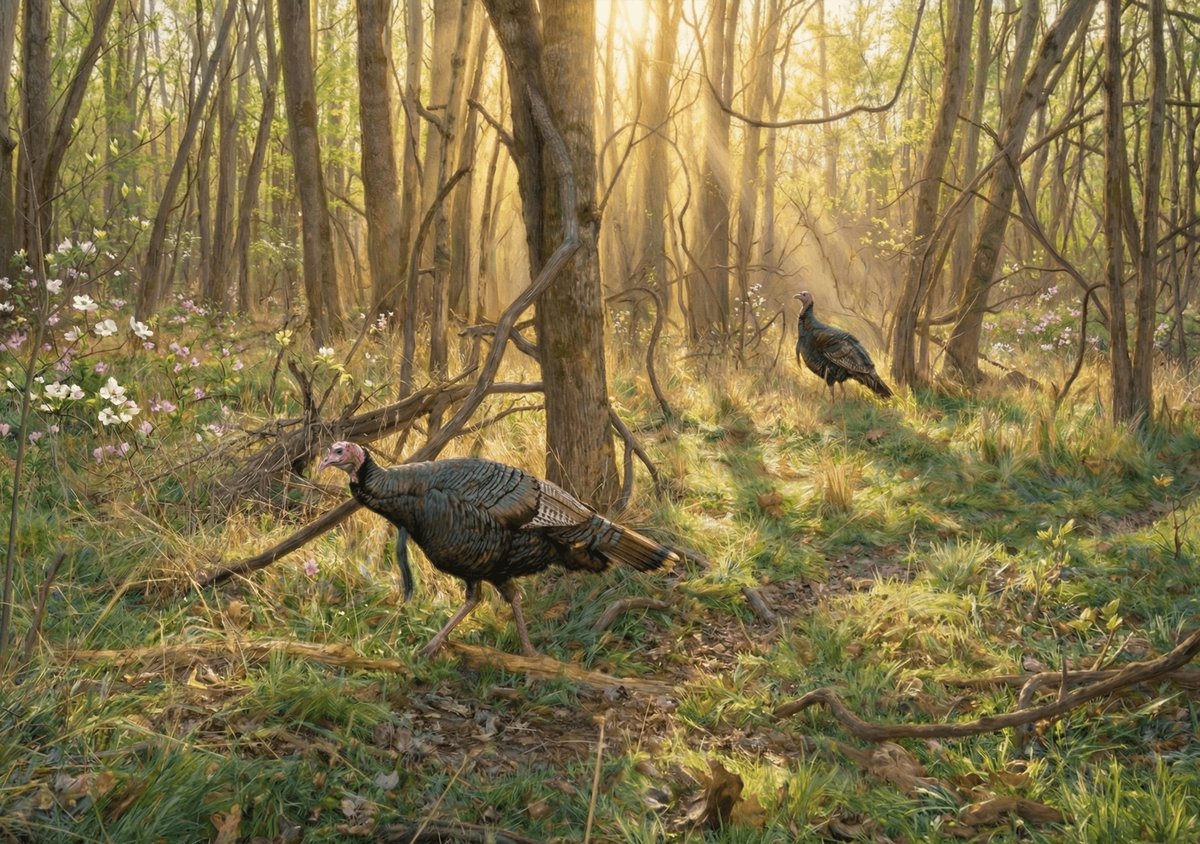
- Walking/slow movement (bears, turkeys): 1/500–1/1000
- Fast action (running, flying, fighting): 1/1600 or faster
- Birds in flight: 1/2000+ if you want crisp wings
Yeah, that's fast. Which means you need good light or you're cranking ISO. More on that in a sec.
Pro Tip: Shutter Priority Mode is Your Friend
Set your camera to Shutter Priority (Tv or S mode depending on brand). You control shutter speed, camera handles the rest. Lock it at 1/1000 and forget about it until light changes.
Aperture: Shallow Depth, Sharp Subject
Wide aperture = blurry background = your subject pops. That's the look.
Sweet spot for wildlife: f/4 to f/5.6 on a telephoto lens. You get shallow depth of field without losing sharpness on the animal's face. Eyes need to be tack sharp—that's non-negotiable.
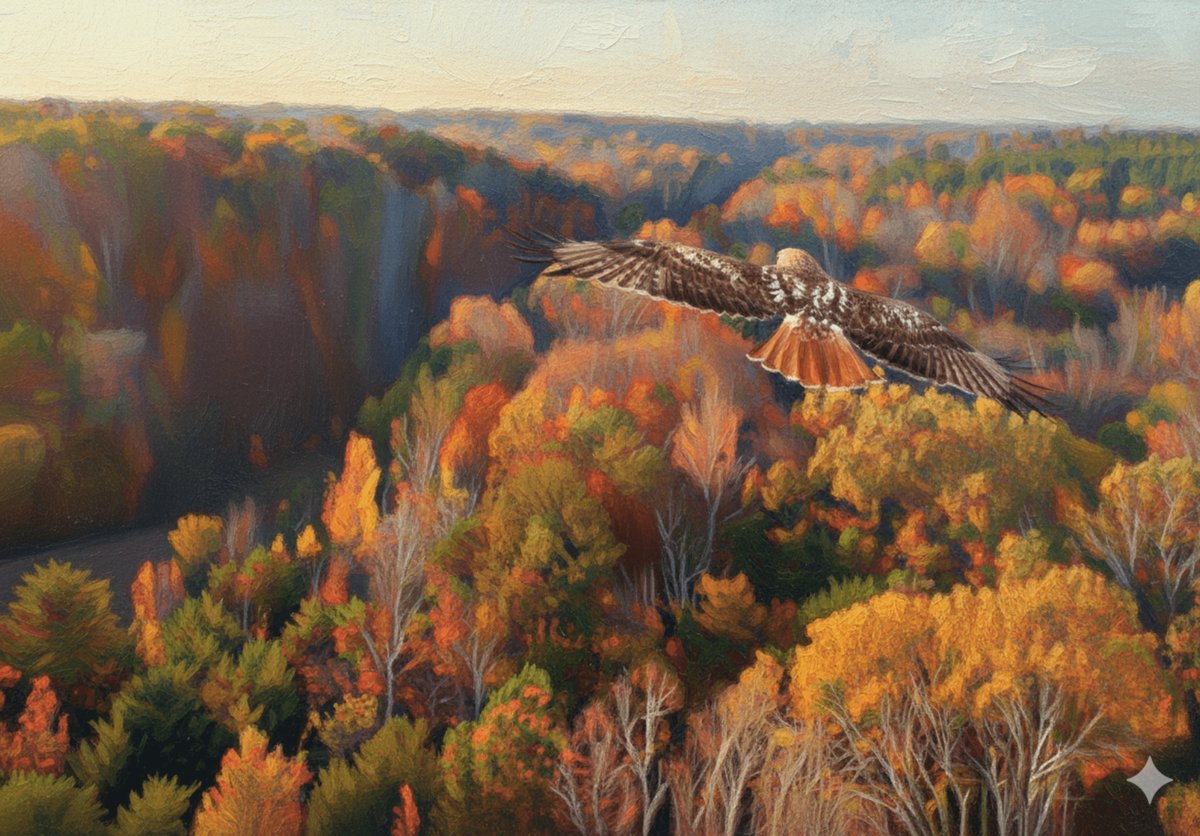
If you're shooting raptors or other birds, go f/5.6 to f/8 to keep the whole bird in focus when they're angled. Nothing worse than sharp talons and a blurry head.
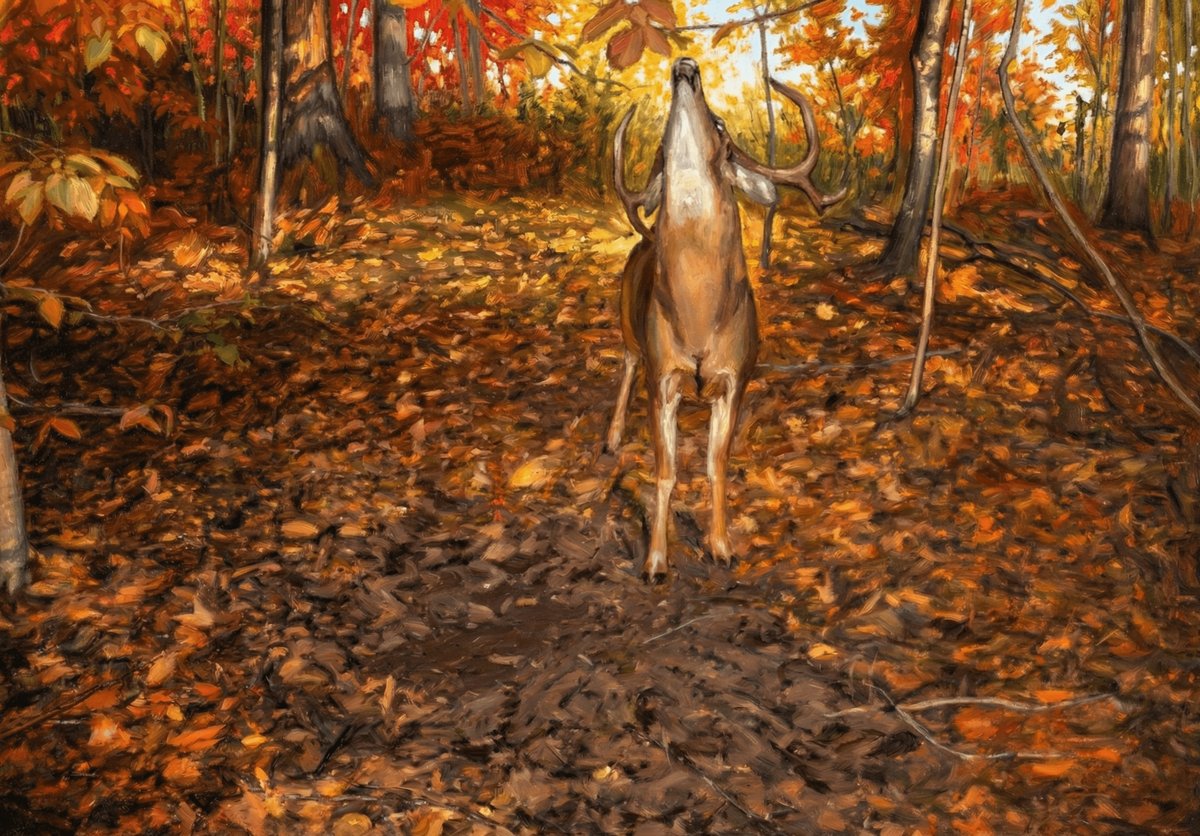
For whitetail deer portraits? f/4 all day. Soft background, sharp rack, that's money.
ISO: Crank It When You Have To
Everyone's scared of ISO. "Grain is bad!" Yeah, well, so is a blurry photo.
Modern cameras handle high ISO shockingly well. ISO 1600? Totally fine. ISO 3200? Still usable, especially if you're printing on canvas where texture hides noise anyway.
Here's the truth: a sharp photo at ISO 3200 beats a blurry one at ISO 400. Every. Single. Time.
Start with Auto ISO (range: 100–3200) and let the camera adapt to light. If it's getting dark and your ISO maxes out, either boost the ceiling or accept that the shoot's over.
Golden Hour ISO Reality Check
Dawn and dusk—prime wildlife time—are dark. If you want 1/1000 shutter speed at f/5.6, you're gonna be at ISO 1600 minimum. Plan accordingly.
Focus Mode: Continuous AF, Always
Set your camera to Continuous Autofocus (AI Servo on Canon, AF-C on Nikon/Sony). This tracks moving subjects. Single-shot AF is for landscapes, not wild turkeys walking through the woods.
Focus point: Single-point AF gives you control. Center it on the animal's eye and half-press to lock tracking. Let the camera follow from there.
If your camera has animal eye-detection AF (most mirrorless cameras do now), turn it on. It's borderline magic.
Shooting Mode: Burst Mode or You're Missing Shots
High-speed continuous shooting. Always. You're not wasting film—it's digital. Fire off 5-10 frames and pick the sharpest one later.
That one perfect frame where the deer's ear isn't twitching and the eye catchlight is just right? You're not getting it with a single shot.
White Balance: Auto is Fine (But Custom is Better)
Auto White Balance works 90% of the time. But if you're shooting at sunrise/sunset and colors look weird, switch to Cloudy or Shade preset. Warms up the tones, makes golden light actually golden.
Shooting RAW? Then white balance doesn't matter as much—you can fix it in post. But getting it close in-camera saves editing time later.
Exposure Compensation: Bias Toward Overexposure (Slightly)
Dark animals (bears, ravens, black-phase turkeys) often come out underexposed because your camera's meter freaks out. Dial in +0.3 to +0.7 exposure compensation to bring details out of shadows.
Snow scenes or white birds? Opposite problem. You'll need -0.3 to -0.7 or the camera will turn everything gray.
The Real Secret: Practice Before the Moment
All these settings mean nothing if you're fiddling with dials while a bull moose walks away. Set up your camera before you're in position:
- Shutter Priority, 1/1000
- Auto ISO, max 3200
- Continuous AF, single point on center
- Burst mode enabled
- Aperture f/4–f/5.6 (if you're in Manual)
Then adjust as needed. But start there, and you'll nail 90% of shots.
From Camera to Canvas
Once you've captured that killer shot in the field, why let it sit on a hard drive? Turn your best wildlife photos into canvas prints and put them on the wall where they belong.
We work with hunters and outdoor photographers all the time—custom canvas prints from your photos, printed to last. Whether it's a personal trophy or a gift for someone who'd appreciate real field photography, we'll make it look damn good.
Looking for the perfect piece? Check out Above The October Canopy — one of our most popular canvas prints, gallery wrapped and ready to hang.
Ready to print your best work? Browse our wildlife canvas collection for inspiration, or reach out about custom printing your own shots.